Issue Date: Nov. 4th, 2025
Memo Number: TB.MP.11425A
Revision: 1
Products Affected: All Handheld Laser Systems
Tools: #
- Masking Tape
- Nitrile Gloves
Instructions #
The following Instructions are intended to guide in the replacement of the protective cover slide (window) in all Theo handheld laser systems. These instructions will reduce contamination of the focusing lens and all other torch optical components.
Note: Establish a proper workspace of at least 1.5 meters around the unit. Make sure area is free of traffic and all lock-out tag-out procedures have been followed. Use proper PPE where needed.
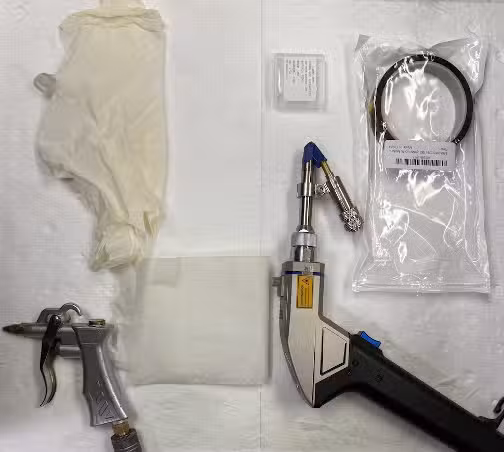
Gather all materials and tools needed to perform repair
- Low pressure air
- Power free gloves
- 70% IPA wipes
- Protective slide (Window)
- Kapton tape
- Masking tape (Painter’s tape)
Note the fiber bend radius at back of torch to ensure no less than 20cm

Seal torch tip with masking tape
Blow entire torch off with low pressure air to remove any loose particles
Wear dust mask while using compressed air
Put on gloves
Only use power free gloves when handling optics
Use IPA and particle free cloth to clean entire torch outer surface or 70% IPA cleanroom wipes
Set torch horizontally on flat surface
Never replace optics with torch cavity facing up
Do not run gas through the torch during optics replacement
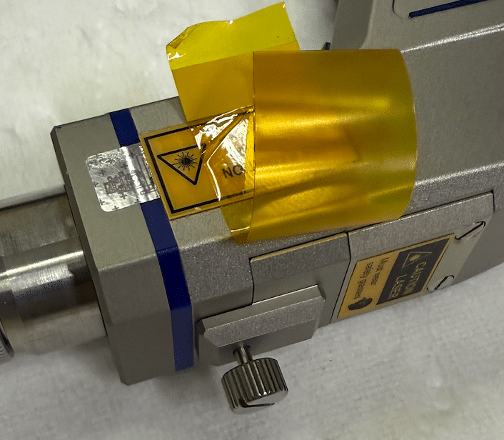
Cut a piece of Kapton tape long enough to cover the protective slide opening
Place tape above slide opening
Never use any other tape other than Kapton tape around optics

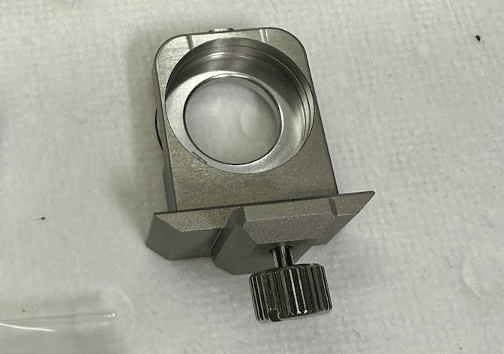
Unscrew the thumb screw for the protective slide counterclockwise
The screw is captive and does not need to be entirely removed
Carefully break seal, stop, and remove entire slide assembly by pulling outward
Do not pull quickly as this will draw a vacuum

Use your thumb of the hand supporting the torch to seal the open cavity with Kapton tape immediately after slide housing removal
Push protective slide and sealing ring out of housing
Use low pressure air to clean particle from slide housing
Use IPA and particle free cloth to clean entire slide housing outer surface or 70% IPA cleanroom wipes
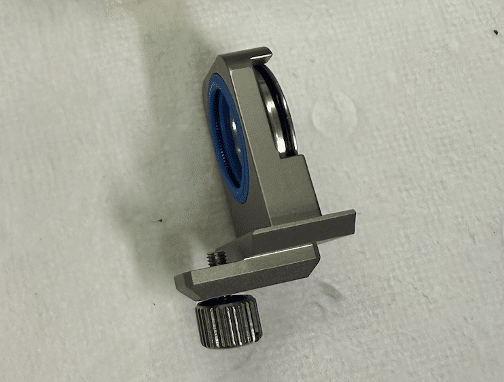
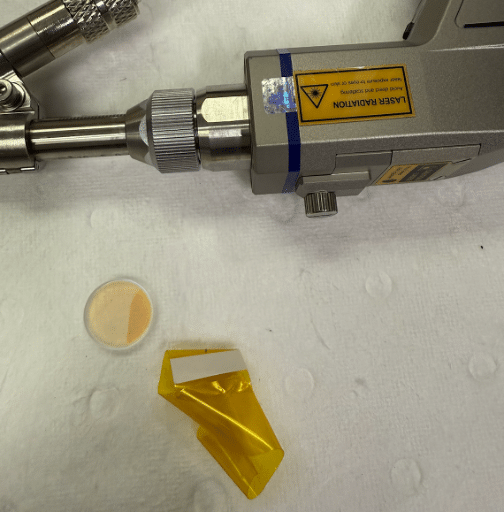
Install new slide with seal facing outward while the slide housing faces vertically as shown
Do not expose the slide to falling particles
Do not touch the face of the slide (even with gloves)
Never try to clean a protective slide
Always replace with new as the cost of the slide is not worth potential risks
Slowly remove Kapton tape to expose slide cavity
Reinstall slide assembly in torch
Screw the thumb screw clockwise to gently tighten
Do not over tighten
Clean work area and resume operation
